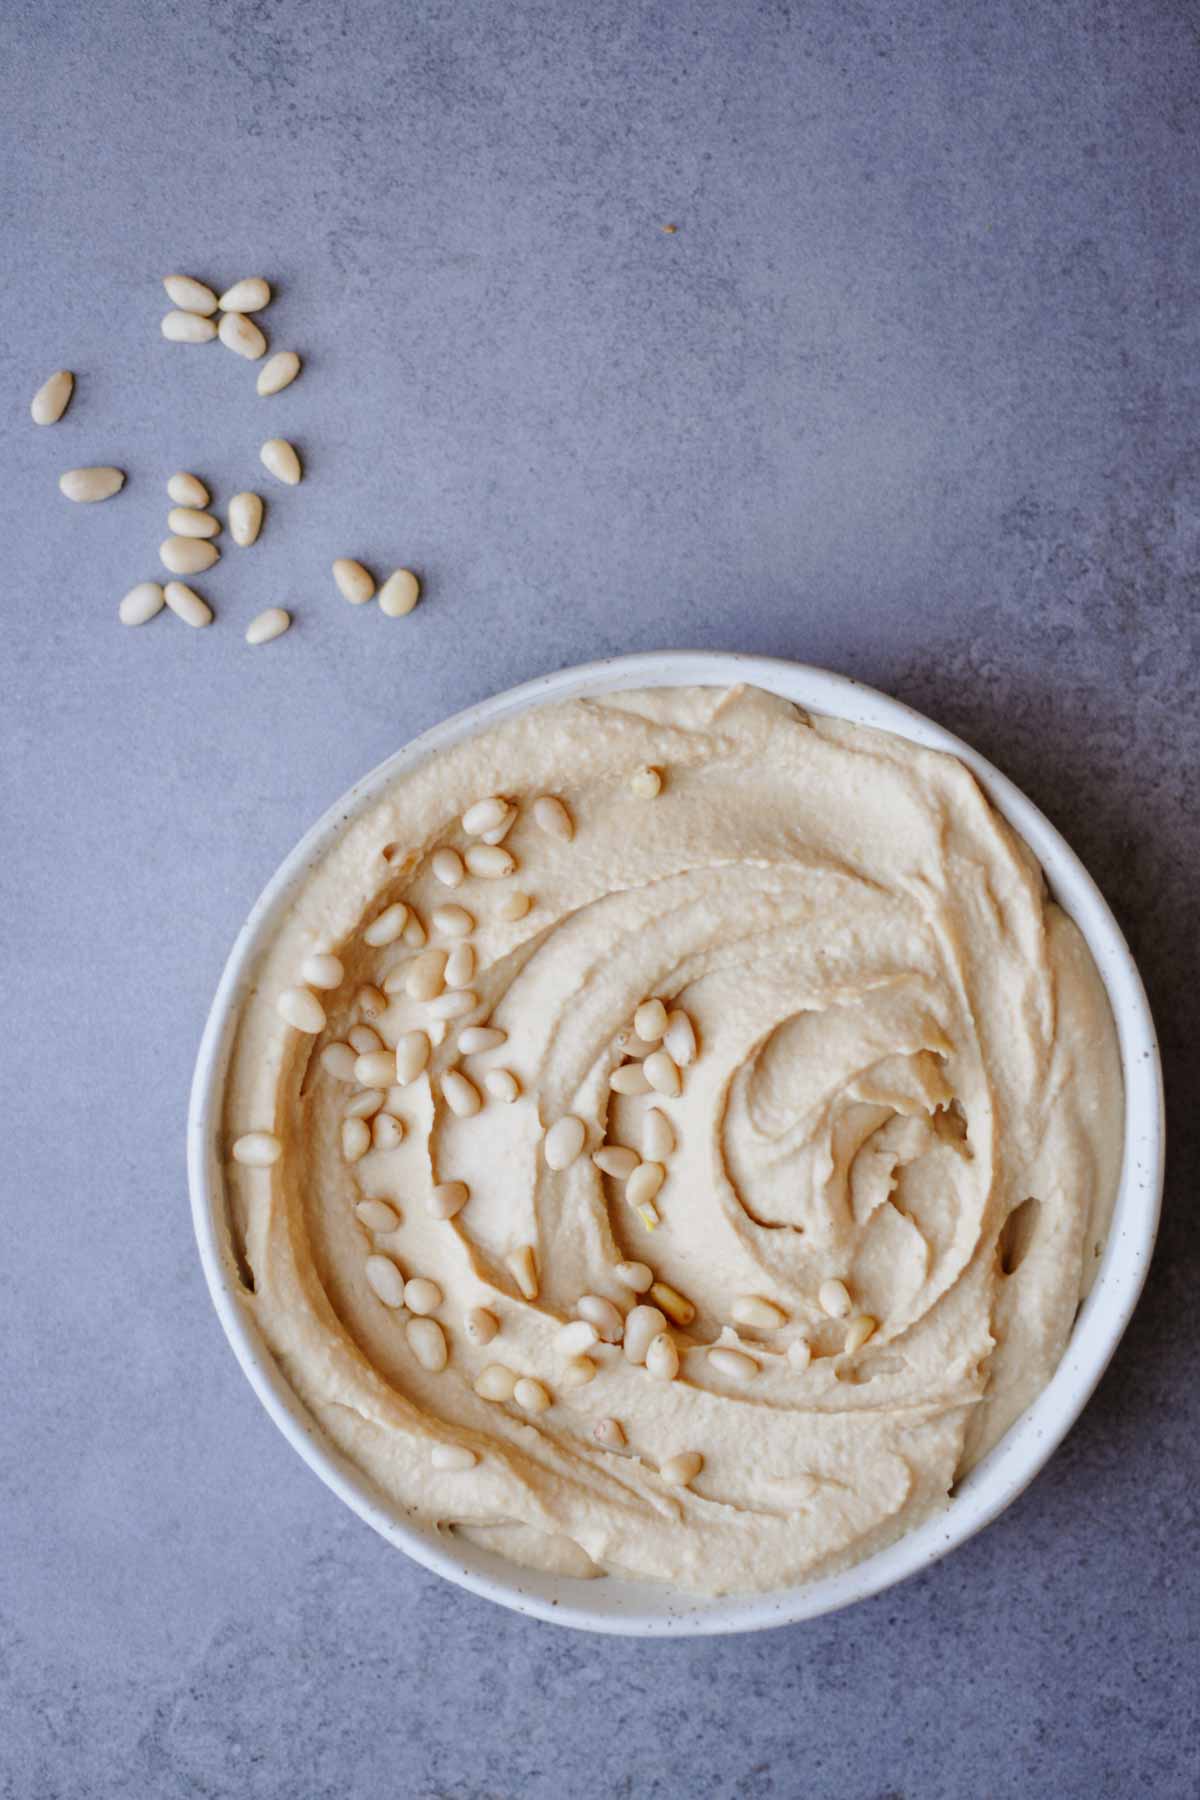
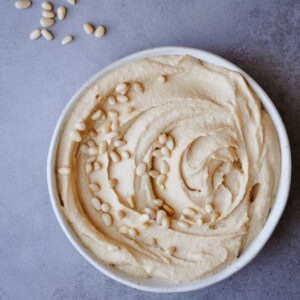
Elevate your hummus game with this incredibly delicious Roasted Pine Nut Butter Hummus! This creamy, nutty delight is simple to make and bursting with flavor. By replacing traditional tahini with rich roasted pine nut butter, you’ll create a unique twist on a classic favorite. Perfect for dipping, spreading, or adding to any meal, this hummus is a must-try that will leave everyone wanting more! Dive in and discover how easy it is to whip up this deliciously smooth treat!
Hummus is a beloved dish enjoyed year-round, but it often sees a spike in popularity during warmer months when fresh vegetables are abundant and outdoor gatherings become more common. Its versatility makes it a staple at picnics, barbecues, and potlucks, where it serves as a healthy and delicious dip.
In Middle Eastern cultures, hummus is frequently served during festive occasions, family gatherings, and holiday celebrations, such as Ramadan, where it’s enjoyed as part of iftar, the meal to break the fast. As plant-based diets gain popularity worldwide, more people are discovering hummus as a nutritious snack or appetizer. With its rich flavors and creamy texture, this Roasted Pine Nut Butter Hummus is perfect for any occasion, making it a delightful addition to gatherings, brunches, or simply as a tasty treat any day of the week.
This Roasted Pine Nut Butter Hummus is inspired by a delicious variation of pine nut hummus I tried back in Romania, created by the renowned chef Joseph Hadad. While his recipe is quite different in flavor, I’m thrilled to say that I enjoy my version even more—thanks to the rich, nutty essence of roasted pine nuts butter. This unique twist elevates the classic dish and adds a depth of flavor that keeps me coming back for more!
Jump to:
Ingredients
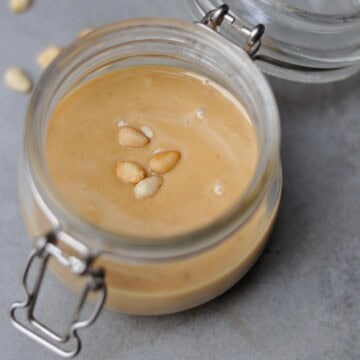
The choice of roasted pine nut butter in this hummus recipe is deliberate, as it brings a unique flavor profile and creaminess that sets it apart from traditional hummus. Unlike tahini, which is often used in classic recipes, roasted pine nut butter offers a subtly sweet, buttery taste that enhances the overall experience. Paired with cooked chickpeas, fresh lemon juice, and a hint of salt, this combination creates a delightful balance of flavors. The chickpeas provide a protein-packed base, while the lemon juice adds brightness and acidity, elevating the dish to new heights. This hummus is delicious and nutritious, thanks to the essential nutrients found in the pine nuts and chickpeas. Using roasted pine nut butter, I wanted to create a unique twist that appeals to those seeking new and exciting variations of this beloved dip while keeping it simple and easy to prepare.
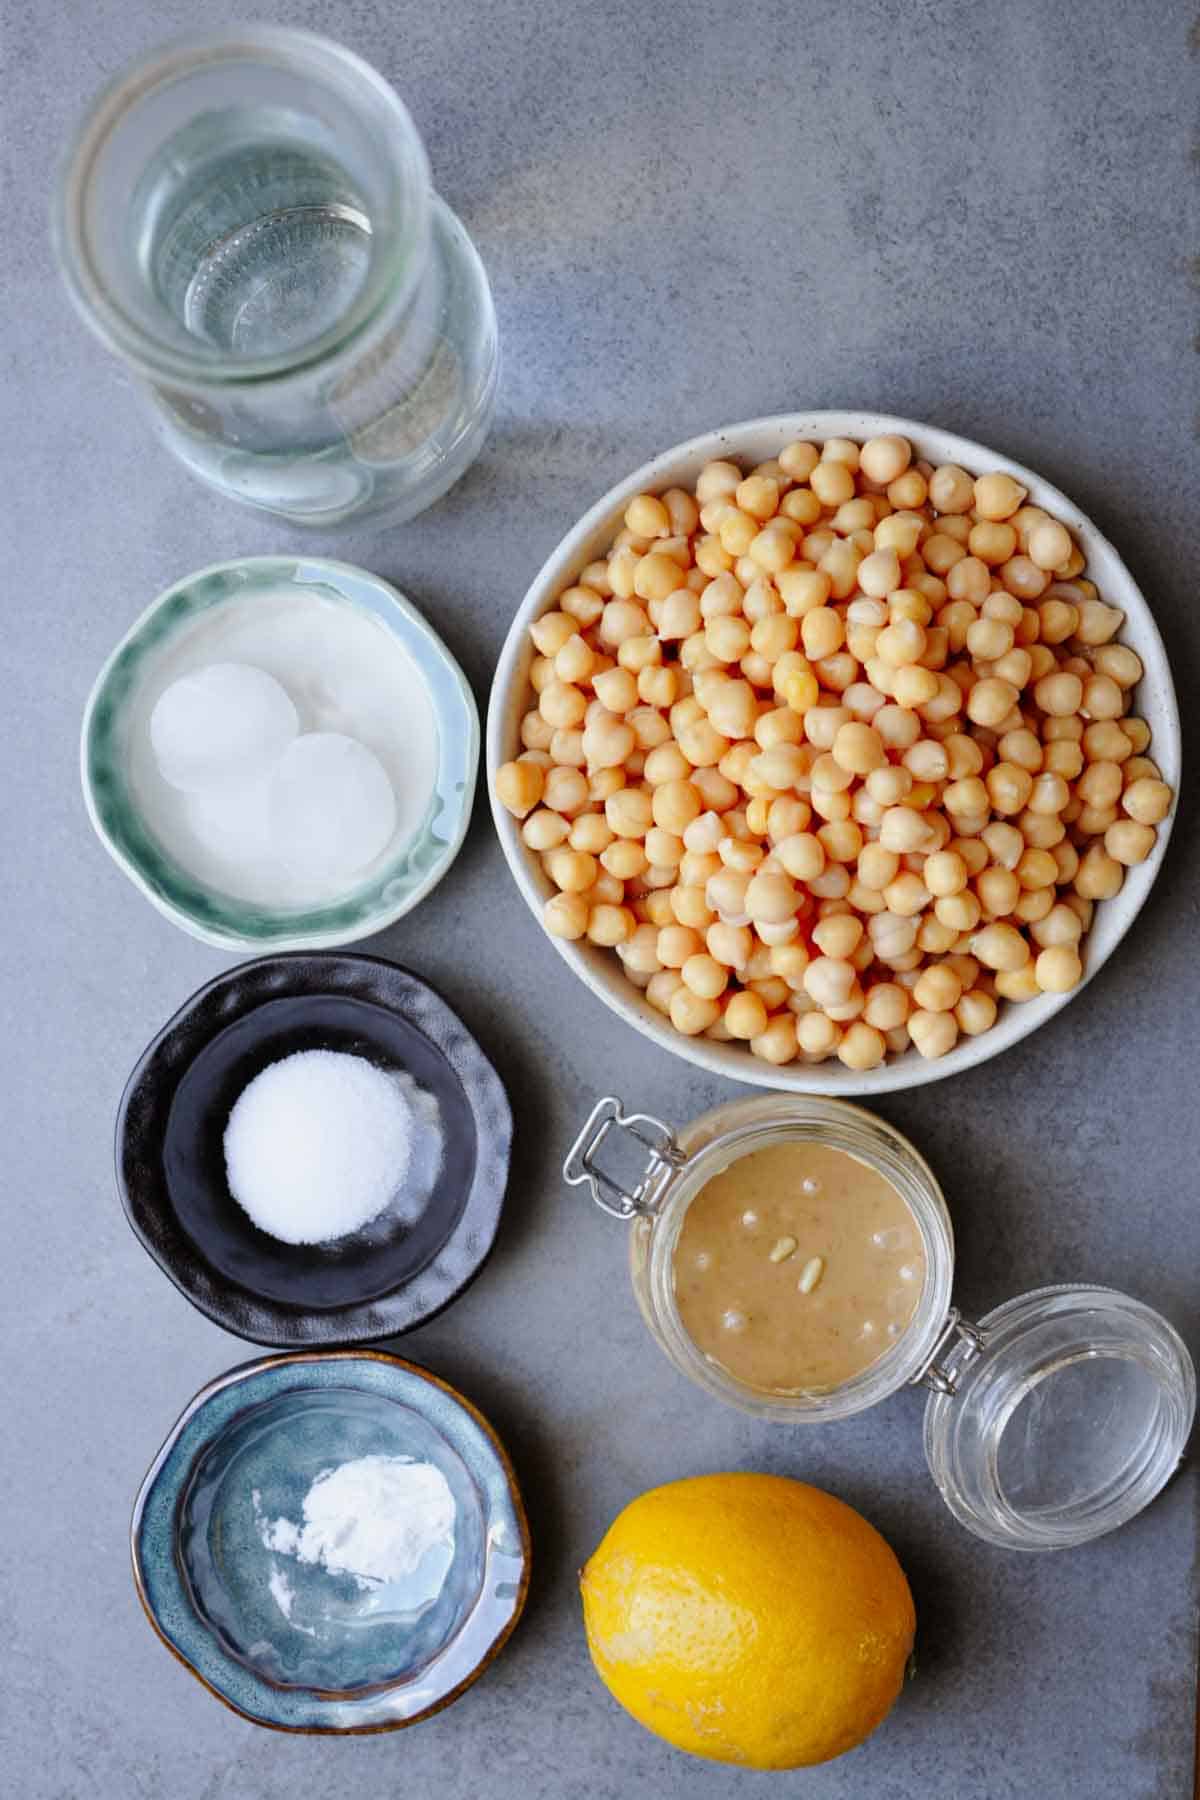
- Fresh water
- Baking soda
- Cooked chickpeas from a jar
- Roasted pine nut butter
- Lemon juice
- Salt
- Ice cubes
See recipe card for quantities.
Instructions
Start by boiling 2 liters (8 cups) of water in a medium to large pan. Once the water reaches a boil, add ¼ teaspoon of baking soda and stir. Drain and rinse the jarred chickpeas, then add them to the boiling water. Reduce the heat and let the chickpeas simmer gently for 30 minutes to soften. Once done, drain the chickpeas and add these to the food processor together with the rest of the ingredients.
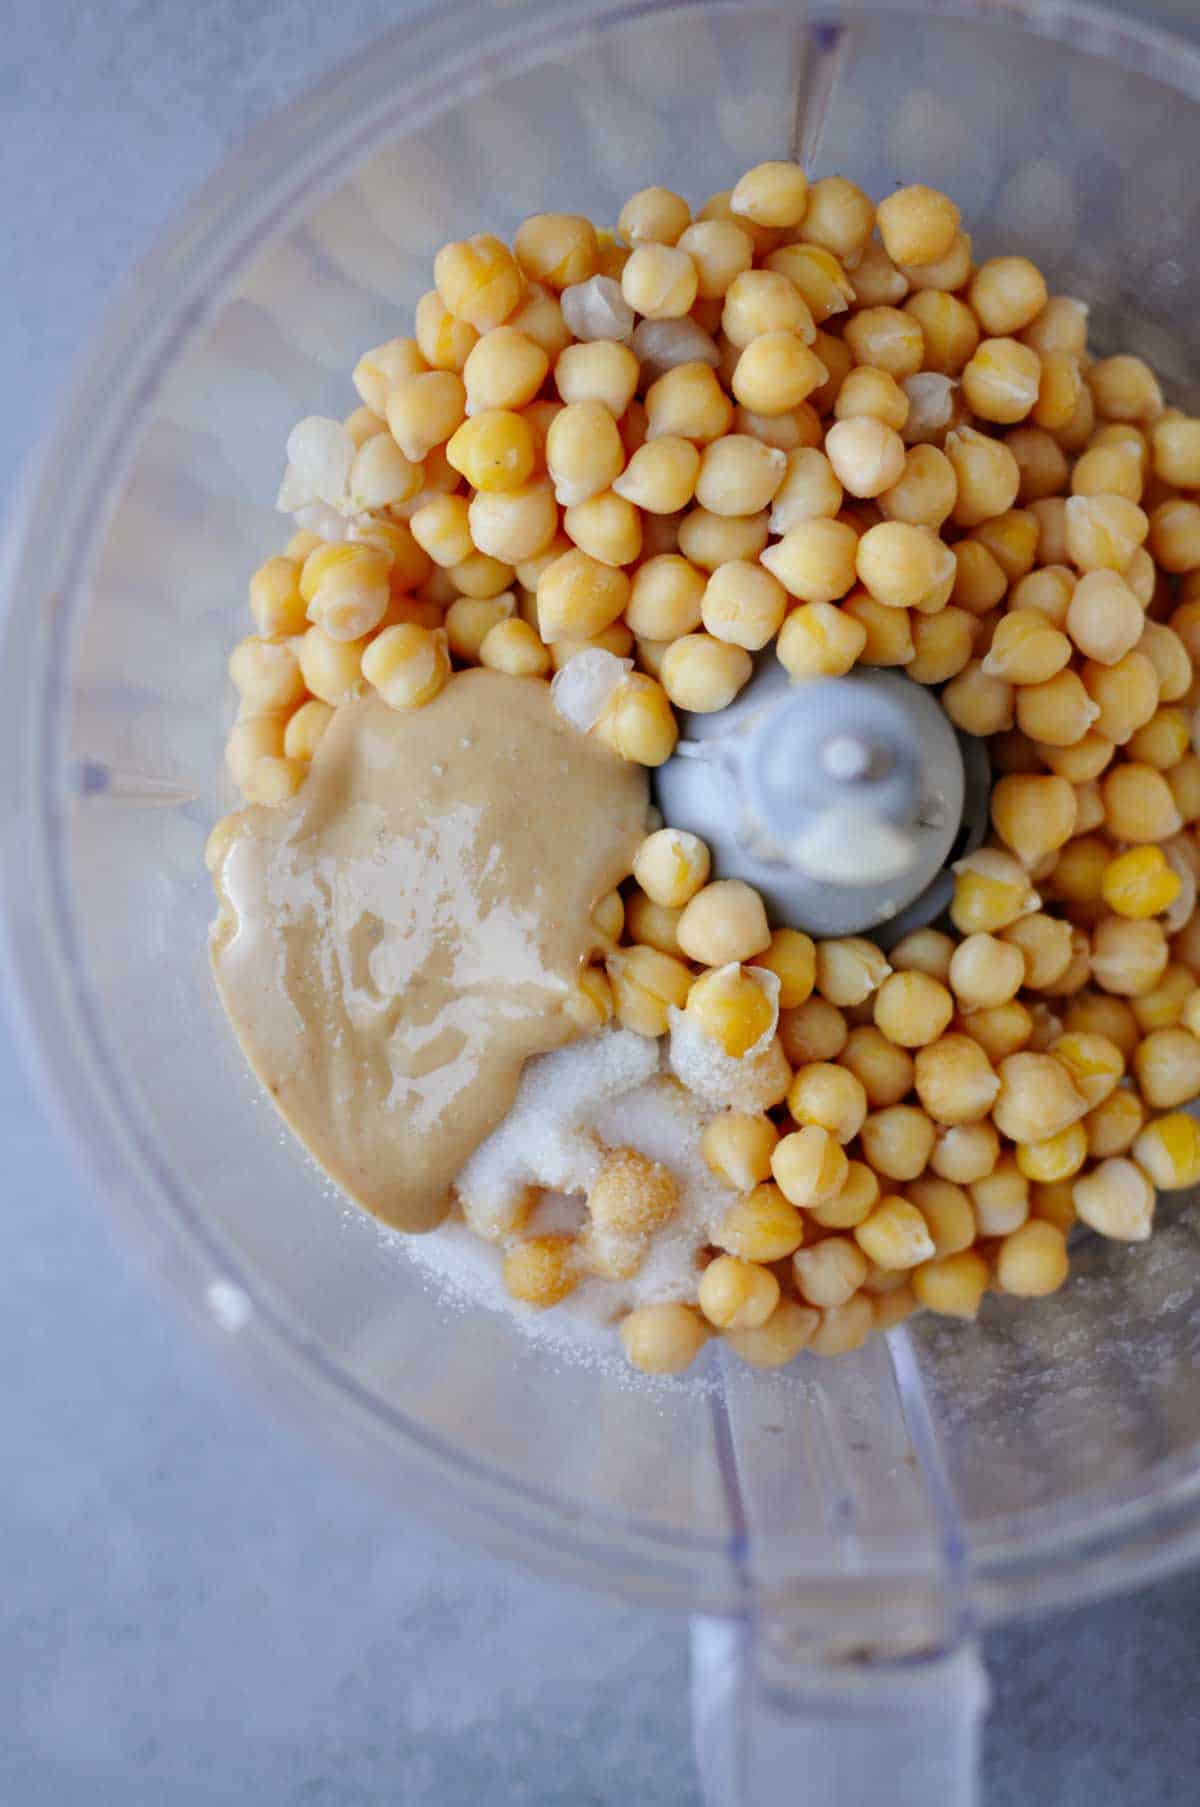
Step 1: Add the cooked chickpeas, hot water, roasted pine nut butter, lemon juice, and salt to a food processor.
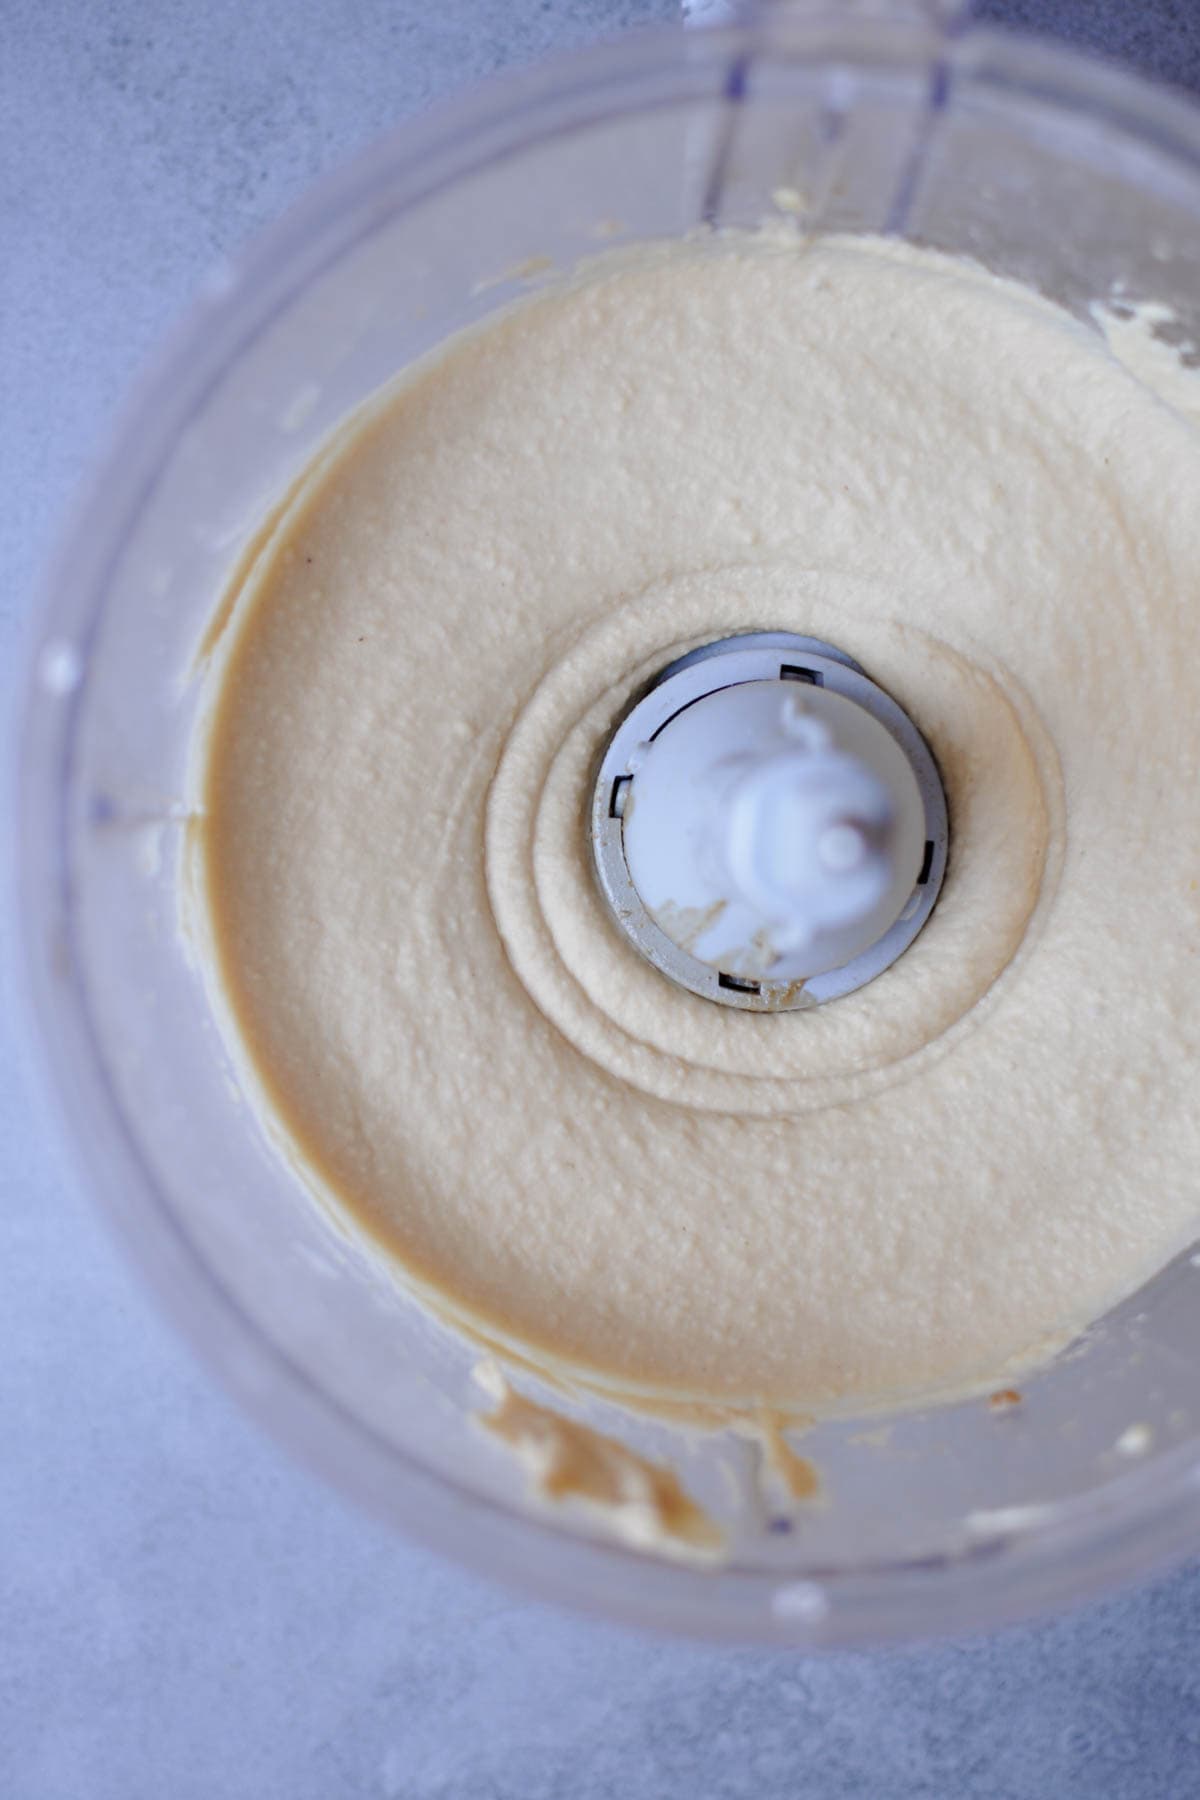
Step 2: Blend everything until smooth and creamy, occasionally scraping the food processor's walls with a spatula. Depending on the power of the food processor, this might take up to 5 minutes. With the food processor running, add the ice cubes one at a time, allowing each to incorporate fully before adding the next. Continue blending until the hummus reaches a super creamy and fluffy consistency.
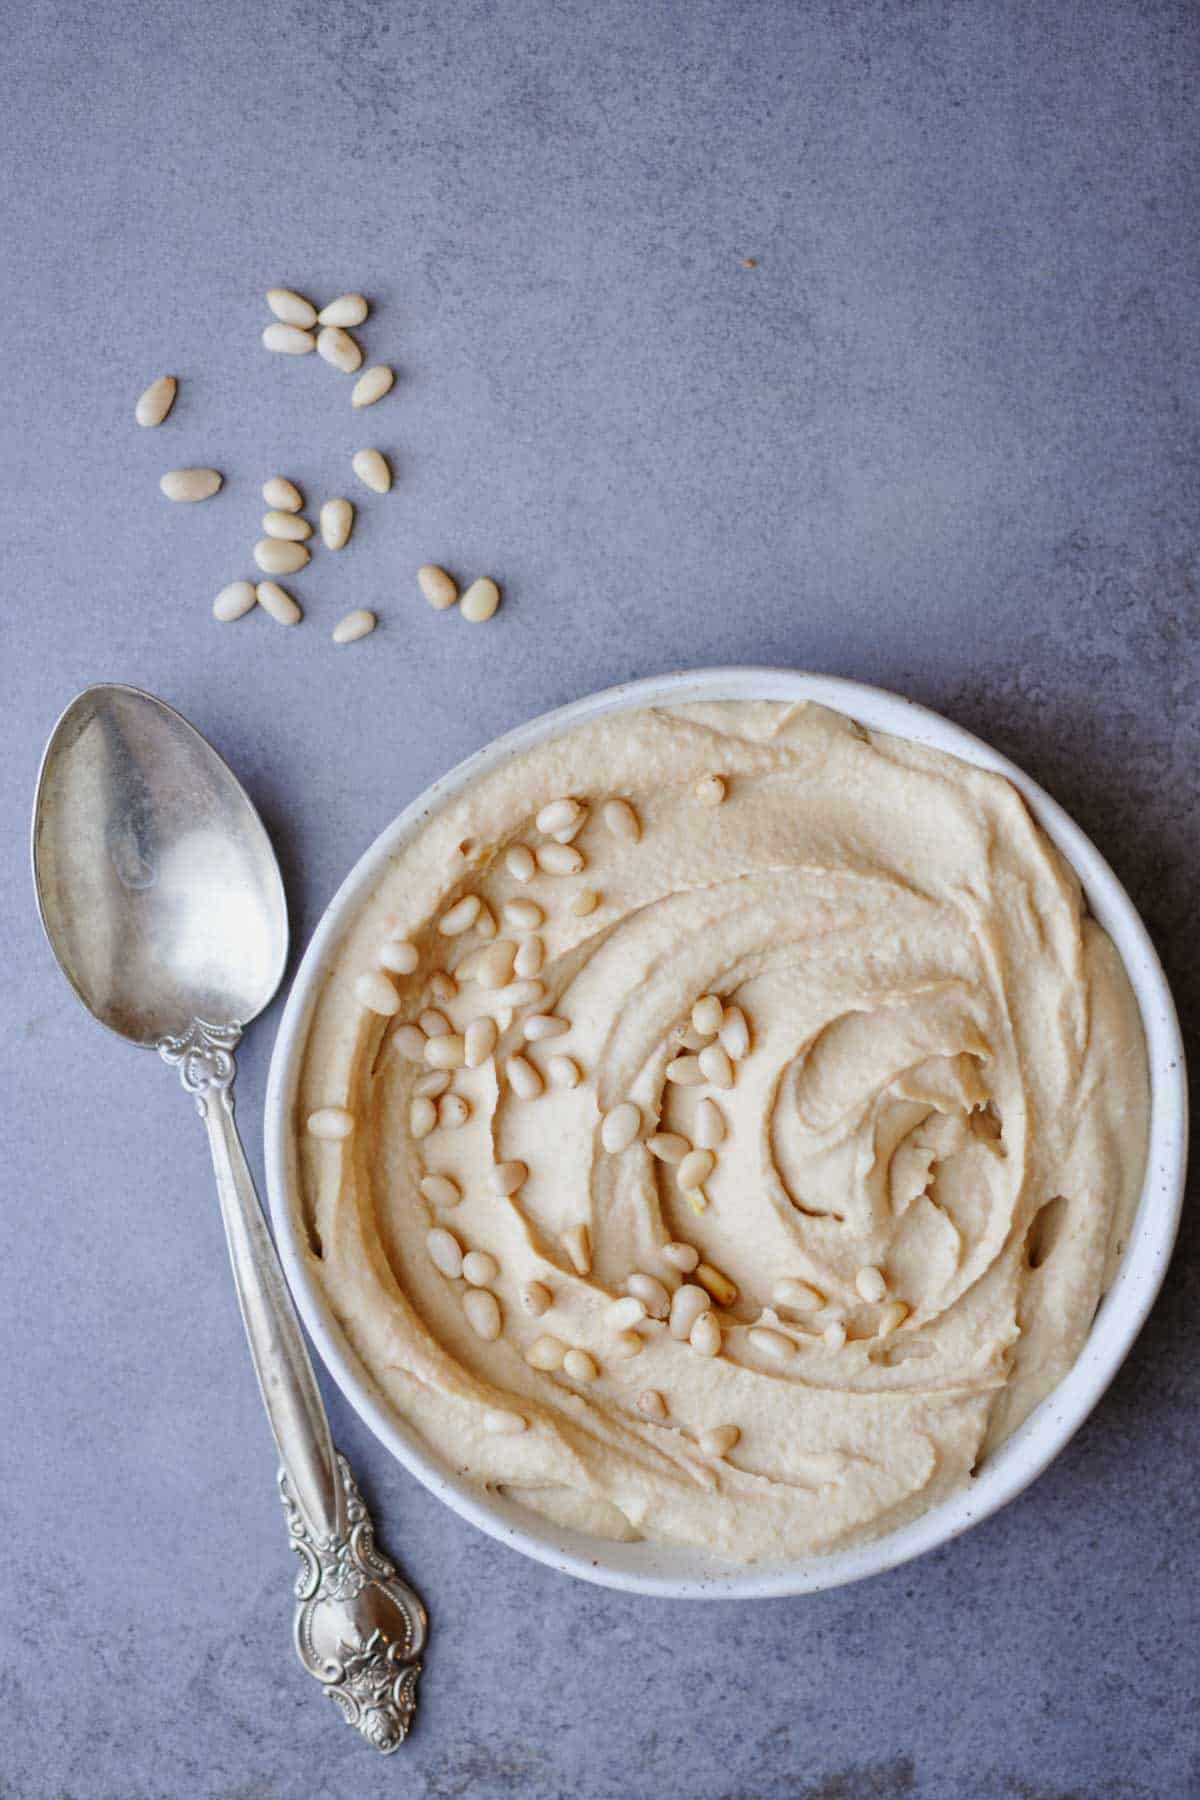
Step 3: Transfer the hummus to a serving plate or glass container and enjoy it with your favorite veggies or as an addition to poke bowls, sandwiches, or wraps.
Hint: Dried and cooked chickpeas are always the best choice for homemade hummus, but if you're short on time, the next best option is cooked chickpeas from a jar. Avoid canned chickpeas altogether, as they often have a metallic taste that can affect the flavor.
Be cautious not to add too much baking soda when cooking the chickpeas, as this can result in a soapy taste in the hummus. A little goes a long way!
Variations
- Herbed Pine Nut Hummus: Add a green juice made with a handful of fresh herbs like parsley, basil, or cilantro to the food processor for a vibrant flavor boost.
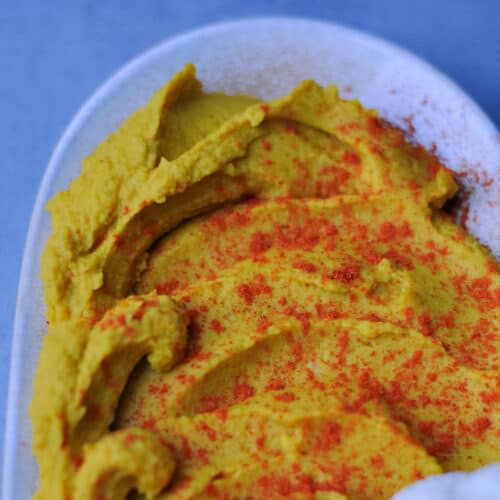
- Spicy Roasted Pine Nut Hummus: Incorporate a pinch of cayenne pepper or a drizzle of sriracha for a spicy kick.
- Smoky Pine Nut Hummus: Mix in a teaspoon of smoked paprika for a rich, smoky flavor that adds depth to your hummus.
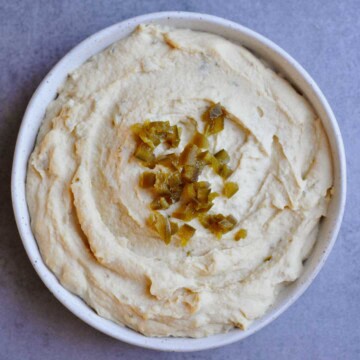
- Roasted Red Pepper Pine Nut Hummus: Add roasted red peppers for a sweet, smoky flavor that pairs beautifully with the pine nuts.
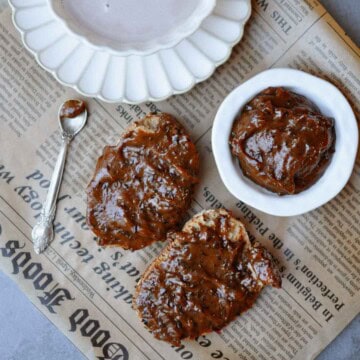
- Sweet Pine Nut Hummus: For a sweeter variation skip the salt and blend in a touch of maple syrup and a sprinkle of cinnamon for a unique dessert dip.
Equipment
The power of your food processor plays a big role in the time needed to achieve the perfect hummus texture.
Since my food processor isn't very powerful, I blend the hummus for more than 5 minutes to ensure a creamy, smooth texture. If you’re using a high-powered processor, you may be able to achieve the same result in less time, but patience is key with a lower-powered one!
Storage
To keep your hummus fresh, store it in an airtight container in the refrigerator. It will stay good for up to 4–5 days, maintaining its smooth and creamy texture. For longer storage, you can freeze the hummus for up to 1 month. Just be sure to let it cool completely before freezing, and allow it to thaw in the fridge before serving.
FAQ
Tahini is a key ingredient in traditional hummus, as it adds creaminess, a rich nutty flavor, and healthy fats. It also helps to create a smooth texture that is characteristic of classic hummus.
Yes! Hummus can be made without tahini, and our Roasted Pine Nut Butter Hummus recipe is a perfect example. By using roasted pine nut butter instead, you still achieve a creamy texture and delightful flavor while eliminating tahini.
If you’re looking for alternatives to tahini, you can use other nut butters like almond butter or sunflower seed butter. Roasted pine nut butter is also a fantastic substitute that adds a unique flavor profile to your hummus.
This hummus is versatile and can be enjoyed as a dip with fresh veggies, pita chips, or crackers. It also works great as a spread on sandwiches or wraps, and can be used as a flavorful addition to grain bowls or salads.
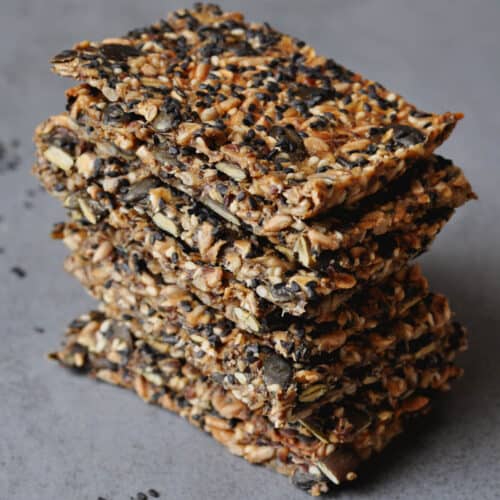
Related
Looking for other hummus recipe ideas? Try these:

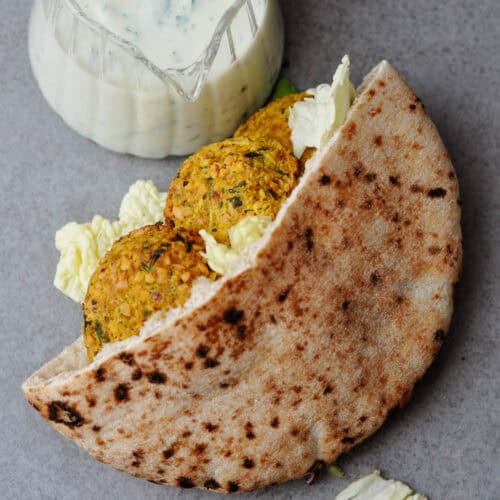
Pairing
These are my favorite dishes to serve with [this recipe]:
Simple Roasted Pine Nut Butter Hummus Recipe (Without Tahini)
Equipment
- 1 Food processor
Ingredients
Prepare the Chickpeas
- 400 g Chickpeas cooked from a jar
- 8 cup Fresh water
- ¼ teaspoon Baking soda
For the Hummus
- 30 g Roasted pine nut butter
- 2 tablespoon Lemon juice
- ¼ Cup Hot water
- 1 teaspoon Salt
- 3 Ice cubes
Instructions
Prepare the Chickpeas
- Start by boiling 2 liters of water (eight cups) in a medium to large pan.
- When the water is boiling, add the ¼ teaspoon of baking soda.
- Drain and rinse the jarred chickpeas and add to the boiling water.
- Boil the chickpeas for half an hour at reduced heat.
Prepare the hummus
- Drain the chickpeas.
- Add the cooked chickpeas, ¼ cup hot water, roasted pine nut butter, lemon juice, and salt to a food processor.
- Blend everything until smooth and creamy, occasionally scraping the food processor's walls with a spatula. Depending on the power of the food processor, this might take up to 5 minutes.
Achieve the Perfect Texture
- With the food processor running, add the ice cubes one at a time, allowing each to incorporate fully before adding the next.
- Continue blending until the hummus reaches a super creamy and fluffy consistency.
- Transfer the hummus to a serving plate or glass container and enjoy it with your favorite veggies or as an addition to poke bowls, sandwiches, or wraps.
- Enjoy!

Helen says
Addictive